The importance of conducting medical training cannot be overstated. While discussion and mental visualization of tasks can be beneficial, verbalization does not build physical skill. Being able to lay hands on patients and equipment is indispensable. Simulation is a practical and safe method of building and maintaining skills and behaviors. It augments didactic instruction by getting rescuers out of their chairs and into realistic scenarios without exposing them or their patients to actual harm. Quality medical simulation allows medical operators to work through the physically challenging process of patient retrieval, management, and transfer to definitive care. This sort of hands-on practice is a vital part of any training program. Rescuers who can navigate a series of challenges and execute skills in context, versus reciting answers and performing tasks, are more capable of finding a solution where none has previously been found (far transfer) and honestly critiquing their own mistakes.
Putting together high-quality medical simulation can seem like a daunting and monumental task. This is especially true if you don’t have ready access to a medical simulation center. There are so many variables to consider that it can be a halting process from the outset. It doesn’t take much more effort to put together a quality scenario. You just have to know it can be done with limited resources. Once you realize it can be done, a lot of the perceived obstacles disappear.
The CASPER mnemonic gives trainers a simple but comprehensive framework for planning medical exercises. Using CASPER takes away a lot of the effort of planning.
C – Casualty simulation
A – Actors
S – Scenario
P – Props & Simulators
E – Environment / Evaluation
R – Risk / Record
Before We Begin
The steps in CASPER are not meant to be sequential. You will visit and revisit each step as you plan. Many sections rely upon the information in other sections. CASPER is meant to serve as a framework upon which you can build your own customized training.
When planning medical training in general you’ll want to assume everyone participating in the scenario is intelligent, well-trained, cares about doing their best, and wants to improve. Mistakes will happen. People will forget important steps and misinterpret signs. It is important to induce stress and even failure in training in order to find opportunities for further improvement. It is vital that a thorough debriefing is conducted to capture those lessons learned and integrate them into future training.
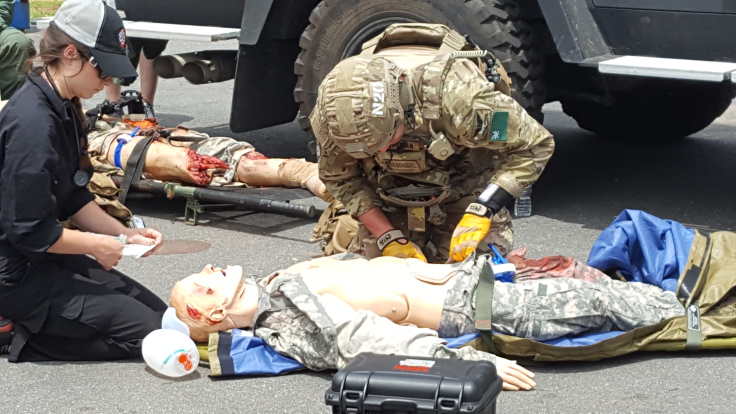
(C) Casualty Simulation
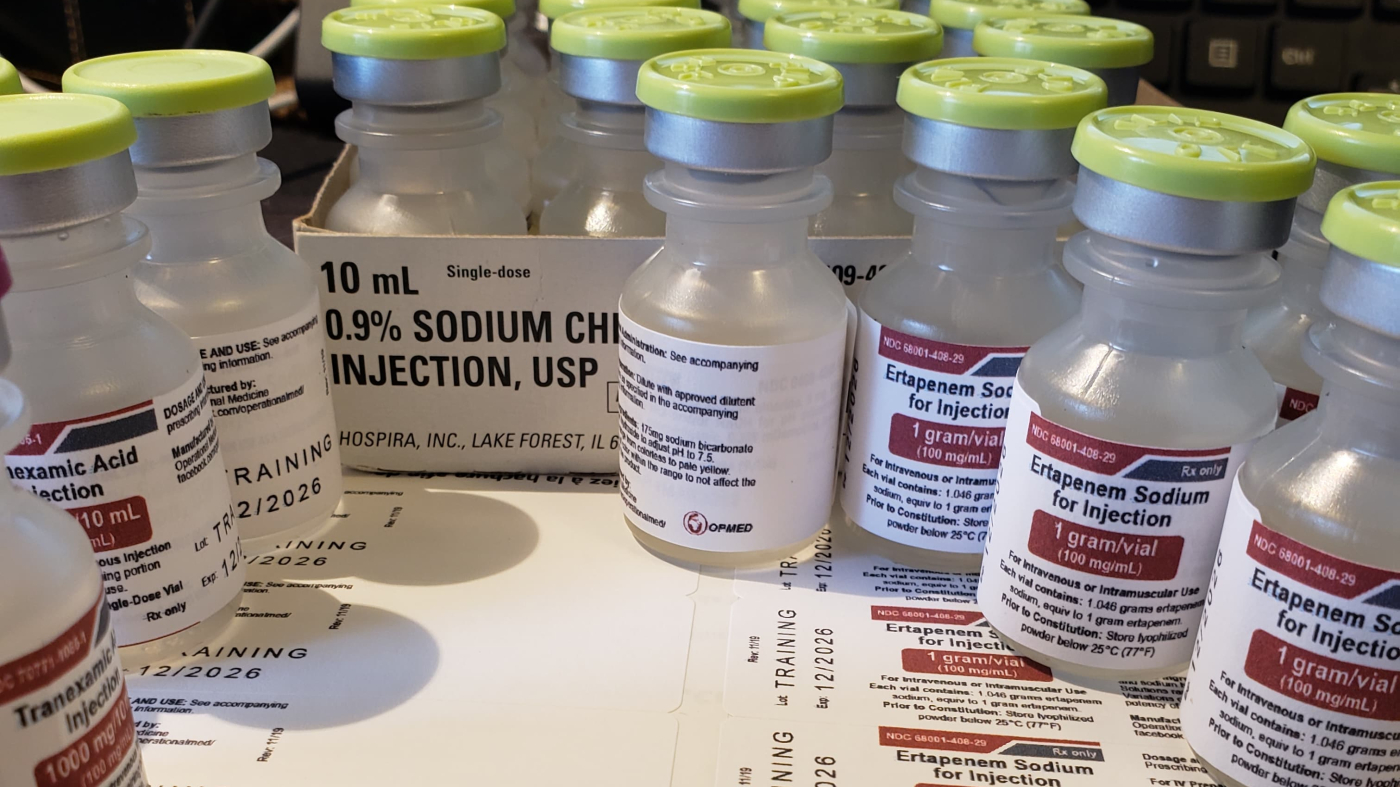
How are you going to simulate your casualties throughout your training day? There is a wide range of possibilities for simulating illness and injury from simple acting to high-quality moulage. If you are going to be running multiple iterations of a scenario, your planning focus will be on making simulations repairable and repeatable. How much effort will it take to reset a station for the next rescuer?
Moulage
Determine whether or not the addition of moulage will add to or distract from the learning objectives. Basic effects can be managed with simple kits purchased from a party or costume store. Cheap makeup can be used to simulate bruises, burns, cuts, and shock. There are a ton of great YouTube video tutorials for applying effects makeup. Simple tricks can be used to make some pretty astonishing wounds. Do not use anything that isn’t specifically made to be applied to the skin. Construction adhesives and other chemicals can be absorbed through the skin over the course of the day and lead to toxicity and potentially real casualties.
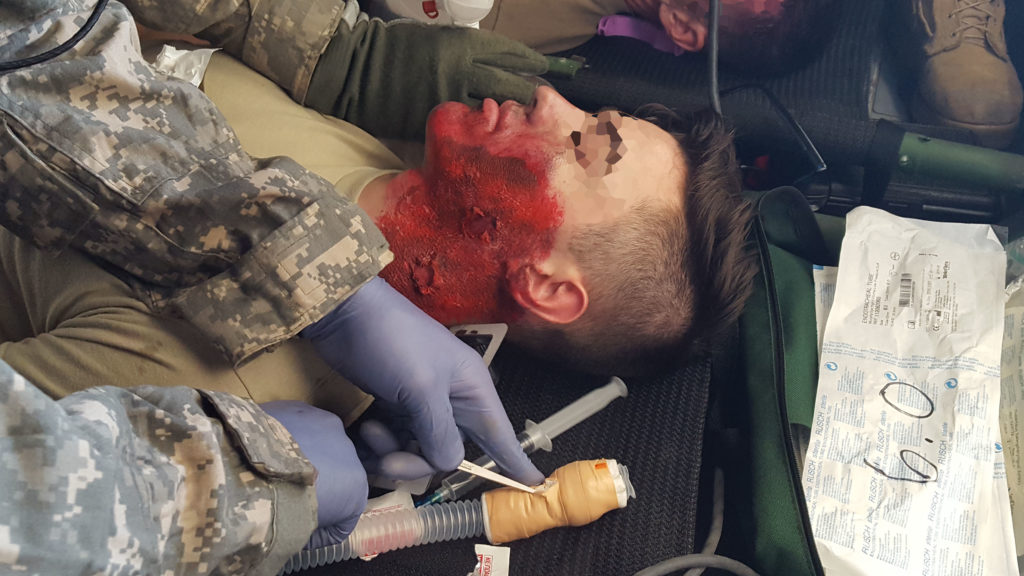
Once moulage is applied, there are some easy tricks to ensure the makeup stays in place. If you are using liquid latex or PVA glue, adding another thin layer can help protect it from bumps, scrapes, and splashes. There are moulage kits that allow you to strap on pre-made wounds using velcro. These kits trade realism for ease of use and durability.
Clothing
It is good practice to tell actors to dress in clothes they don’t mind getting dirty. Depending on the level of simulation and the types of wounds involved, it may be best to wear the equivalent of swimwear and provide clothing specifically for the scenario. As clothes get cut and torn, subsequent rescuers will lose the training value of exposing a patient’s wounds. If you expect rescuers to be cutting clothing routinely, have a plan to either repair or replace the damaged stuff.
Communication
How will you communicate important medical information to your participants? Talking, yelling, writing on a whiteboard? Will rescuers be required to gather real vital signs before being given the scenario vitals? Will you hook a monitor up to your actors, and if so, how will you portray changes in vital signs? There are a few apps available for phones and tablets which allow you to mimic a monitor, however, they can require practice to use effectively while running a scenario.
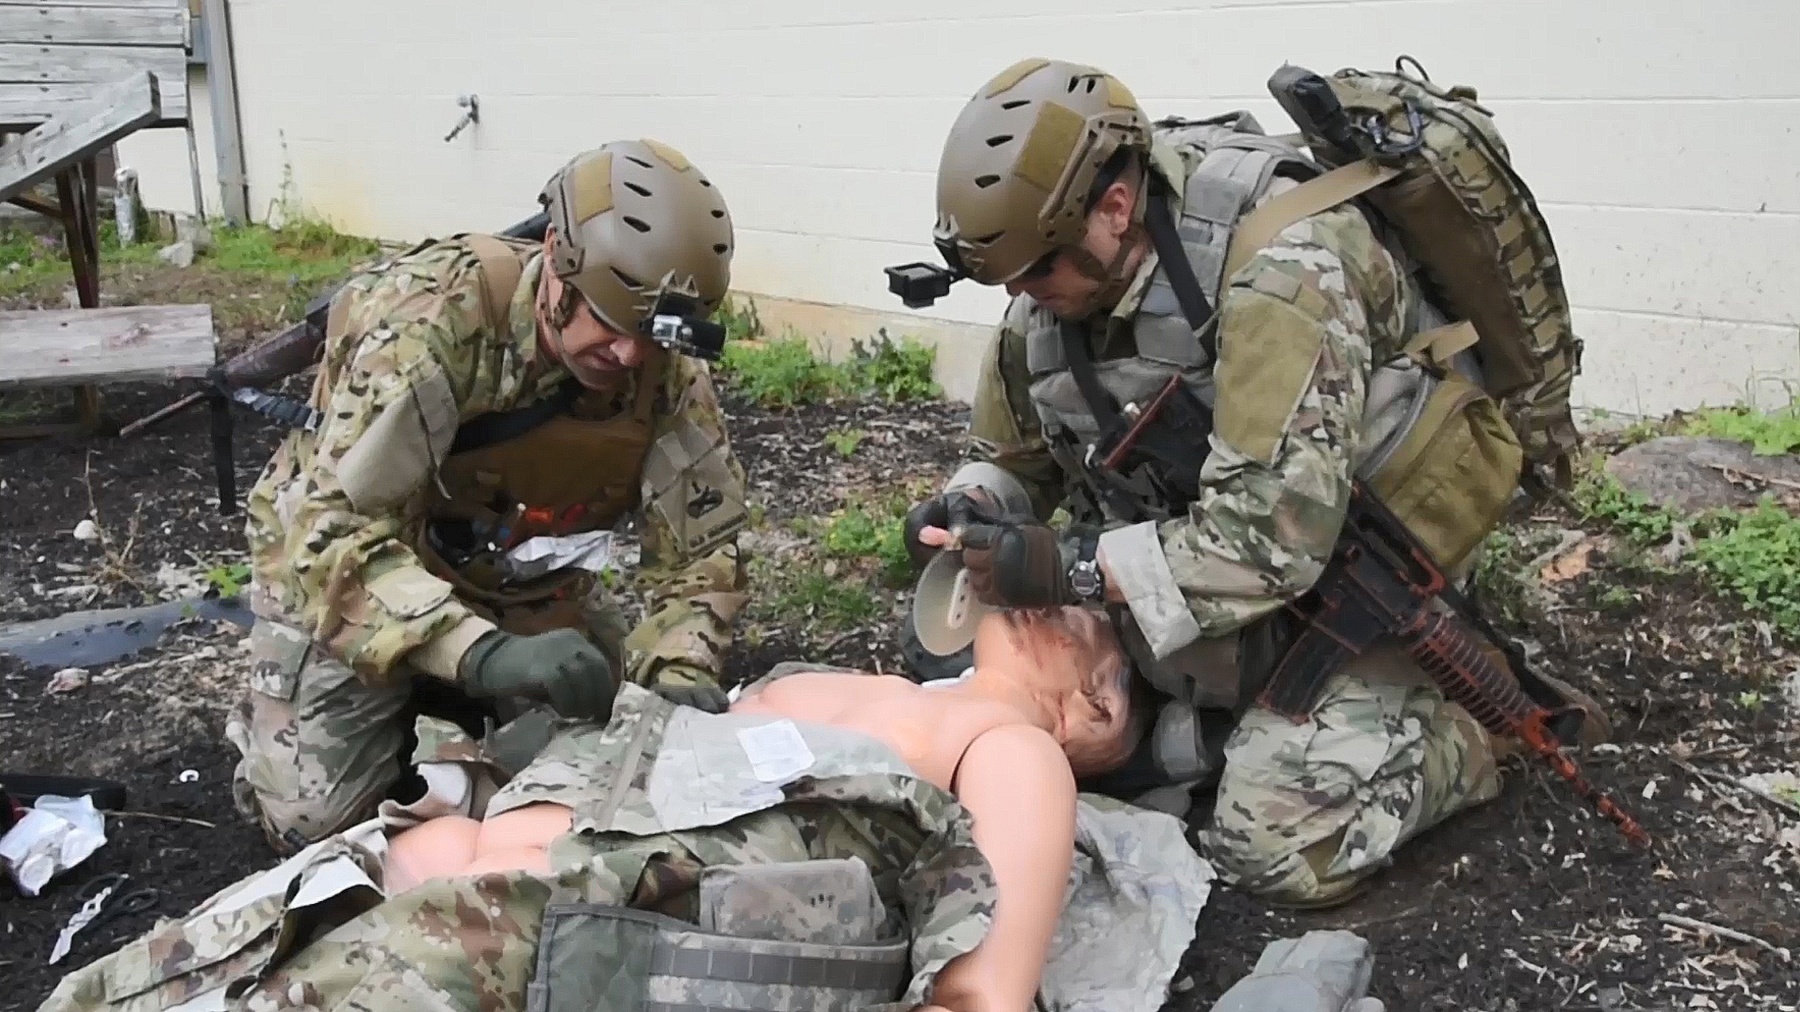
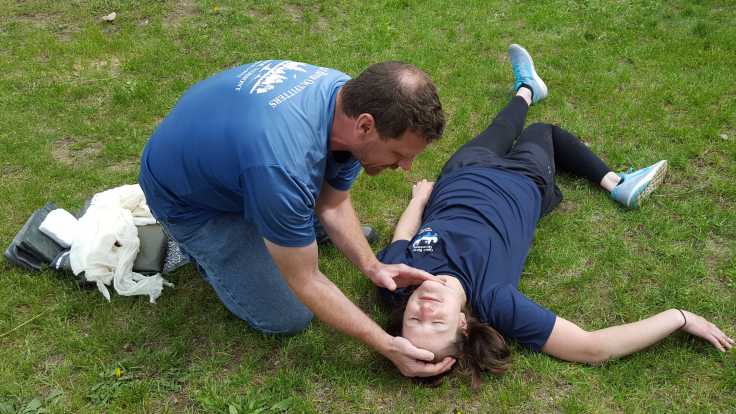
(A) Actors
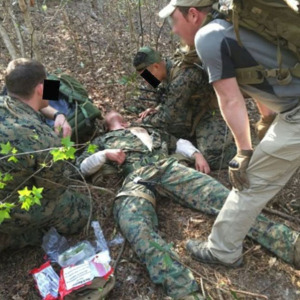
Human actors make great casualty simulators for non-invasive treatment. (Please do not place chest tubes in your volunteers.) From a planning perspective, dedicated patients are logistically better than rotating actors. Determine whether you can get volunteers or if you need to hire people to be roleplayers. Figure out how many patients you will need for the scenarios and whether you will need other non-patient actors to play bystanders or other confederates.
Patients
The best patients tend to be those with some prior medical training. You may want to reach out to a local EMT or Medic class and ask if the students would like to volunteer for a day. It benefits the volunteer to see other providers conducting medical assessments and to participate in the training event.
Briefing
Realism is a critical component of scenario-based training. Both actors and rescuers should be briefed to stay in their roles. Under- or over-acting can interfere with accurately portraying the patient’s condition and will hinder the learning objectives.
A basic patient briefing should include the following:
- Story. Building the story should be done after establishing the simulation’s objectives.
- Mechanism. Explain the mechanism of injury or illness.
- Injuries. Show the actor where the injuries are located on their body and show them how each injury should be presented.
- Signs. Depending on how the instructor chooses to give vital signs (the patient announcing or through actual measurement and feedback) give the actor a set of vital signs.
- Cues. Explain the cues needed to act through the scenario. An example would be a gentle tap on the shoulder, a code word from the instructor, or an action by the rescuer to indicate the actor should lose consciousness.
- Boundaries. If the actors will be allowed to position themselves where they see fit in the training area, establish “do not cross” boundaries in order to maximize benefit within training timelines
If medically trained actors aren’t available, explain and demonstrate how the patient is supposed to act. This is especially important for patients who will be conscious and may need to respond to assessment or movement. If necessary detailed medical information can be provided by the instructor during the scenario, but an awake patient should be able to recite a simple AMPLE history.
Particular attention should be paid to GCS scores and other altered states of mental status. Roleplayers and trainees will commonly not take this aspect of training seriously.
Rescuers should be briefed before the scenario begins as well.
- Story. Provide the story, as discussed above, with any alterations needed to support objectives related to communications or miscommunication.
- Location and Time. If different from reality, provide environmental information.
- Patient. If available to the rescuer, provide basic patient information.
- End Point. Provide scenario goals, time limits, or preset endpoints.
- Objectives. Provide a basic overview of the performance objectives without disclosing anything that may detract from rescuer decision points.
Evaluators
Assign evaluators who are familiar with the level of medicine being taught. If you are planning to use multiple scenario stations, some consistency in grading between evaluators should be established. This is usually best done with a grading worksheet or checklist. For complex scenarios, there should be one evaluator per critical patient.
If many scenarios will be conducted during the day, make sure there are planned breaks or relief for your evaluators. If your people start to get burned out during the training day there tends to be a shift in evaluation results, either in length of scenario or overall grade.
(S) Scenario
This may be the most important component of the planning process. A well-prepared scenario will allow self-motivated students to go through a process of discovery. Once the scenario kicks off, the role of the instructor is to facilitate—not direct—the learning process.
The scenario you create directly affects the level of intensity your participants will feel. However, make sure you gear your scenarios to the level of the rescuers. Expecting a first responder to meet the performance objectives of a critical care scenario isn’t just unreasonable, it’s demoralizing. Your goal should be to make rescuers uncomfortable in order to give them confidence in their abilities. One way to ensure you’re on track is to pull scenarios directly from your agency’s medical protocols, or from the course textbook. As the skill and experience of the rescuer increases, you can increase the complexity and severity of the patient.
While planning your scenarios you must strive to keep training relevant to the goals of your organization. Avoid the temptation to include things that aren’t relevant to your mission.
Mapping out the course of your scenario ahead of time is a great way to avoid having to make it up as you go along while grading performance. Even a simple plan of how you are going to hit key objectives during the simulation will add legitimacy to the training. Much of the perceived intensity in the scenario is generated by the acuity of the patient, not the specific types of task trainers or simulators.
Objectives
Objectives are measurable targets. These are specific measurable behaviors that you want the learners to achieve or demonstrate. Remember to be clear, accurate, and concise. It can often be tempting to adjust the scenario to make it more difficult for a rescuer. Having a set of objectives allows the instructor to tailor the simulation to the progress of the rescuer without being tempted to throw too many curveballs.
Limit the number of objectives per scenario to two or three. If more objectives are needed to fulfill training requirements, consider breaking the scenario down into smaller phases. Very long scenarios, or scenarios with many objectives can become overwhelming and are difficult to debrief.
Skills and Outcomes
Making a list of skills that need to be performed, or a particular set of protocols which must be utilized can help planners design scenarios. Planners benefit by being able to refer to the specific protocols or skill sheets during grading and debrief. Students benefit from having a standard by which they can either prepare or remediate.
Not every patient will respond to treatment rendered by the rescuer. Patient outcomes can be fixed to teach affective concepts like prevention.
Scripts
When preparing scenario scripts make sure to clearly organize all important data such as general condition trends, injury lists, and key events and decision points which must occur. Write or type in large print so referencing it at a glance will be easy. If you are using colored or low light during your simulation, make sure you can read all the data needed. Scripts should be kept simple enough to clearly illustrate the problem and flexible enough to allow students to make mistakes.
While the scenario should be built to play out with minimal intervention from the instructor, structured complications can be induced to ensure learning objectives are met. Having rescuers pause, close their eyes or look away, or react to an environmental threat will allow instructors to add or modify moulage, or induce a failure of equipment.
Debriefing
Effective after action review is what transforms experiences into learning. You should be able to plan your debriefing before the scenario begins. Each scenario should have two or three points of emphasis for the rescuer. More points may begin to degrade, distract, or dilute potential learning. Consider using the following questions to elicit discussion during debriefing:
- Does this patient require evacuation? For what reason? By what means? With what level of urgency?
- Is this patient’s condition improving or deteriorating? How can you tell?
- What principles did you apply in your treatment?
- What problems were you anticipating?
You may also notice rescuers’ emotional reactions to their mistakes. If the students can walk away from the training knowing what they need to improve without the instructor explicitly stating it there is no need to beat the proverbial dead horse.
(P) Props and Sims
What sorts of interactive components are going to be involved in the scenario?
Fidelity
Simulation with high-fidelity mannequins is increasing in quality with each passing year. These simulators cost anywhere from tens to a hundred thousand dollars and provide students with feedback while allowing them to perform some skills tasks without breaking out from the scenario. However, many organizations cannot afford the equipment, staff, and maintenance costs associated with high-fidelity training.
Low- and medium- fidelity simulators can be bought or made inexpensively. The quality of the medical training depends, in large part, on the preparation and execution of the instructors. As was said before, the intensity of the scenario depends more on the perceived acuity of the patient than the complexity of the simulation.
Regardless of the level of fidelity being used, the willingness of the participants to “act the part” and suspend disbelief facilitates the quality of their learning.
Sourcing Simulators and Task Trainers

Many low-fidelity task trainers can be made from common items found in and around the clinic. With some ingenuity, most task trainers can be replicated with simple equipment.
There are many companies that offer pre-made task trainers which can be used to satisfy specific objectives. If these are available, they are preferred over lower fidelity versions. You may be able to rent or borrow some by reaching out to local medical training centers.
Running Simulations and Tasks
Instructors should be familiar with the operation of the simulators they are running. High-fidelity simulators may require extensive technical training while low-fidelity simulators may only require that the instructor present them at the appropriate time.
If possible, the grader should be able to focus on grading while a dedicated task trainer is monitored by another grader. This is especially true for grading multiple medics in the same scenario. However, this may not be feasible. At very least the instructor must ensure that simulators are used in a safe manner and in a way that doesn’t damage equipment.
Equipment
You can distill a list of equipment required for the scenario from the objectives and skills expected to be performed. Plan what equipment participants should start with, what equipment will need to be improvised, and what equipment should not be present, brought, or used.
(E) Environment
Where will your training take place? While basic simulation and task training can successfully take place in the controlled classroom environment, moving the students to another area will break up the block of instruction and aid retention. The mnemonic ADT-PTL (Activity, Disruptors, Terrain and Weather, People and Equipment, Time, and Legal Considerations) can help you plan possible complications with your environment.
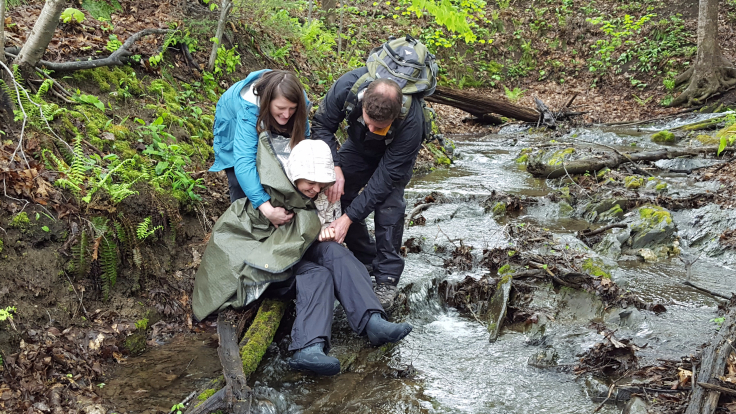
Location
Ideally, you want your training environment to mimic what will be experienced once the student is on the job. If the job involves a helicopter, see if you can train in a helicopter on the pad. If the job involves confined spaces, see if you can create a restrictive but safe space to train in. Your goal is to create a challenging environment without it being distracting from the training objectives.
Check the training area for potential hazards. Are there poisonous plants, stinging bugs, or other aggressive creatures? Is the location near active traffic, or could the training area be crossed by ATVs? Establish specific boundaries, be able to monitor all participants, and be able to intervene quickly should the need arise.
Ensure you have permission to use the location. Take care to return the environment to how you found it once training is over. Pay particular attention to blood stains and medical equipment packaging.
Weather
When training outside, consider the effect weather will have on patients, props, and sims. Rescuers who are not well prepared for the environment will struggle with wind, cold, rain, snow, or sun. A well-crafted scenario may distract rescuers from their own safety. A very cold environment may require additional logistics to keep actors warm while the students mount the rescue. Rain or cold may negatively affect the ability for moulage to be applied or repaired.
(R) Risk and Record
Roleplayers and students should be briefed before the scenario on some basic safety rules.
- Depending on the level of training, any medical skills performed should be done on task trainers. IV access should not be initiated through makeup and moulage.
- Roleplayers should not allow anyone or anything to cause them physical pain. If they are being hurt, they should call out a safe word for the instructors to pause the training.
Firearms
Integration of firearms comes with its own set of special rules. Blue Guns or other inert training aids are far preferable to any alternative in terms of absolute safety. Some safety systems allow slides and barrels to be replaced with inert replicas. At a very minimum, there should be one person, with no other responsibilities, dedicated to the safe handling and manipulation of firearms.
Recording
The second R in CASPER, recording the scenario allows you to review performance with the students and instructors. A written, photo, or video record of the scenario can help resolve any questions the student may have regarding their performance. You’ll want to plan out how you are going to record the events, dedicating a camera person, or videographer, as well as a way to view the pictures or movie files. At very least, you should be able to reconstruct a timeline of events. Bonus points if you can add timestamps.
Debriefing
All training should conclude with a thorough debriefing or after action review. This is where experience is translated into learning. Break the debrief into two sections starting with the scenario, then hitting upon the training day as a whole. Record both items that were beneficial, and opportunities to improve.
You should also make time to poll your instructors for their boots-on-the-ground perspective of how the training went. You are looking specifically for any logistics hiccups, moulage malfunctions, or other planning issues. You’ll also want to collect common mistakes that the students made. Similar mistakes may point back to earlier errors of instruction.
Final Thoughts
Medical simulation is one of the final steps in a well-planned training cycle. Many instructional models advocate starting off at a slow pace and working up in both speed and complexity while never sacrificing quality.
Students should be well-trained in the medical processes and techniques expected during the scenarios. They should also have a working knowledge and familiarity with the equipment to be used.
CASPER Recap
Use this checklist to plan your medical simulation.
- Casualty Simulation
- Moulage
- Clothing
- Communication
- Actors
- Patients
- Scripts
- Evaluators
- Scenario
- Objectives
- Outcomes
- Scripts
- Debriefing
- Props and Sims
- Fidelity
- Sourcing
- Operators
- Equipment
- Environment
- Location
- Weather Considerations
- Risk and Record
- Assess Risk
- Recording
Special thanks to Andrew Fisher and Collin Dye over at Next Generation Combat Medic, and to Eric Moore, Josh Remer, Joel Coelho, and Jason Warn for proofreading and feedback.